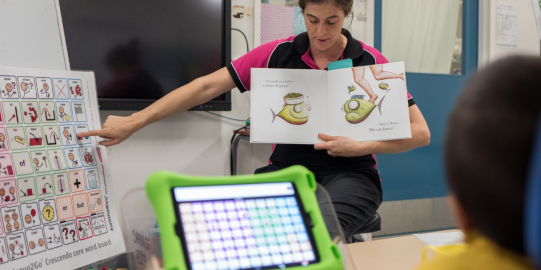
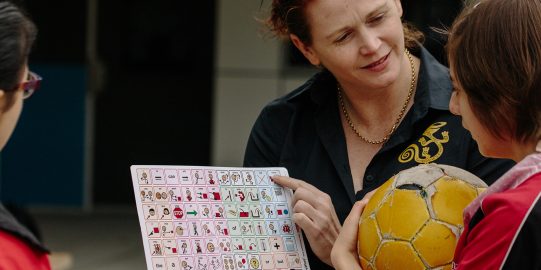
AssistiveWare’s Amanda, Speech Language Pathologist, shares how to create a paper-based AAC book of your vocabulary. With it you will always have a backup communication system if anything should happen to your device.
For many reasons it can be useful to create a paper-based book of your vocabulary. It gives you a backup communication system if anything should happen to your iPad. At different times, in different environments it can be very handy to have a paper copy! Perhaps the AAC user has more success accessing their communication in a book like this! And if we are trying to do more modeling in the AAC app, your paper-based book is just another way to do it!
I have created the entire vocabulary in this book and it was quite a job! However it is also okay to print and laminate a few pages to use in a specific way, eg. all the food pages to have a copy in the kitchen. This book is based on a 5X9 Grid in Proloquo2Go's Intermediate Core vocabulary, but you can use any AAC app to create a paper-based version.
Steps I followed to create this book
1. Move the vocabulary you need to the primary folder
Learn how in this Support article. I did this so that all the words we would need would be on one page - which is easier to print and include in the book. It would have taken longer to print and make this book if I was using both primary and secondary folders of the vocabulary.
2. Take screenshots of each folder/page
Note: to take a screenshot, press the Home button and the Sleep/Wake button simultaneously.
3. Put the images onto the computer, ready for printing
4. Print each page
Note: I printed 2 copies of pages that had subfolders, so that the second page could be used to cut out and make the folder tabs.
5. Cut and sort the pages
6. Cut the folder tabs
7. Stick on the folder tabs
Note: As I stuck on each folder tab, I tried to line up the tab with the column where it was located on the top page.
8. Put the pages in order
9. Number the pages
I used a white paint pen to number each page, writing the number on the top black toolbar. I am not sure this the best place for the page numbers but time will tell as we start using the book! I think page numbers on the tabs at the bottom would also have been helpful.
10. Write go-to page numbers on each folder
I wrote the page numbers to help people change pages and find things in the book more easily.
11. Laminate each page
(Note: This will take a long time, you may need coffee!)
12. Cut each laminated page, including cutting around the folder tabs
13. Make a photocopy of the book
I made a copy of the book, as I decided it might be useful to have a spare copy, complete with all the folder tabs already done. This will be easier to cut and laminate if needed later, without having to start from scratch.
14. Punch holes in each page
15. Join the pages together
I used zip ties, but I know big silver rings would also have worked.
16. Write in any extra words
What if a word you need isn’t there? Simply write it in! I have spoken to the family about adding words on the backs of pages with a permanent marker whenever it is needed.
17. Start using your book!
There you go - that is how I created this paper-based copy of my Proloquo2Go vocabulary!
Good luck with yours! Please share any comments and feedback, we would love to hear from you.